Home > English > Passwords safe > Centralize all your passwords in one secure tool!
Centralize all your passwords in one secure tool!
Monday 22 May 2023
All the versions of this article: [English] [français]
You must generate a different password for each of your accounts, save it and copy/paste it from the password manager when you need to log into a service.
There are several ways to access the password manager: the web, the desktop application, a browser extension or via your smartphone.
Web
The password manager can be accessed via the address https://vault.mondomaine.tld/ for example https://vault.demogranite.fr.
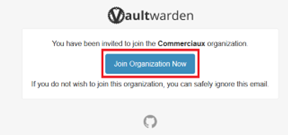
You must have received an invitation email to create your account. If not, contact the support team to have it reissued.
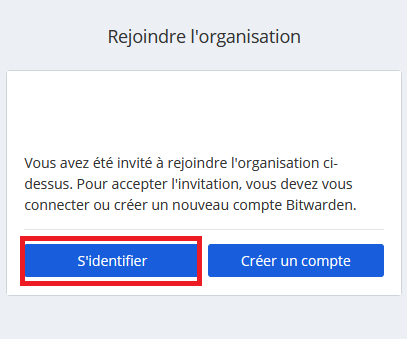
Clicking on the link in the email should take you to this page, offering to create an account.


You can click on "Create an account", fill in your information (email, password, ...) and click on "Submit" to validate the account creation.
Warning ! The password for this vault is the most important of all the passwords you have, as it allows access to all the others.
Some recommendations:
– Create a new password at this time
– Do not write it down on paper
– You will remember it because you will type it often
– Use an effective password creation technique such as :
– Several unrelated words
– A number
– A special character, here : " ! "
– This could be "airplane 4 crane !jealousy"
Next, remember the following three basic rules:
– Use a different password per service (email, bank, social network...)
– Don’t use a simple rule to create different passwords like "linkedinTOTO" and "facebookTOTO" because if one of the passwords is read in the clear you can guess all the others.
– Your password manager can create complex passwords for you and remember them
– Once you’ve created your account, you can log in by first entering your email address and then the password you created earlier.


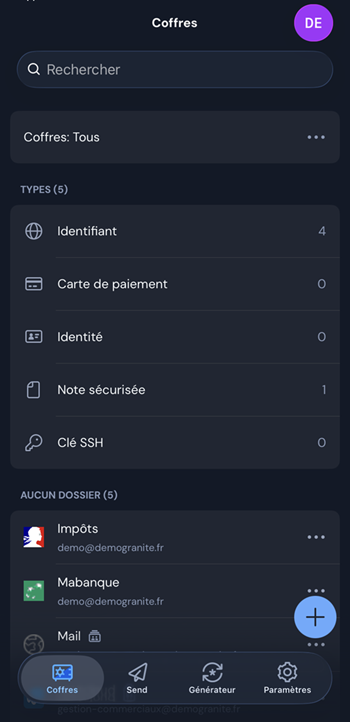
Once you’re logged in, you’ll see the password manager’s home screen. To add a new entry, click on the "+ New" icon in the top-right corner.
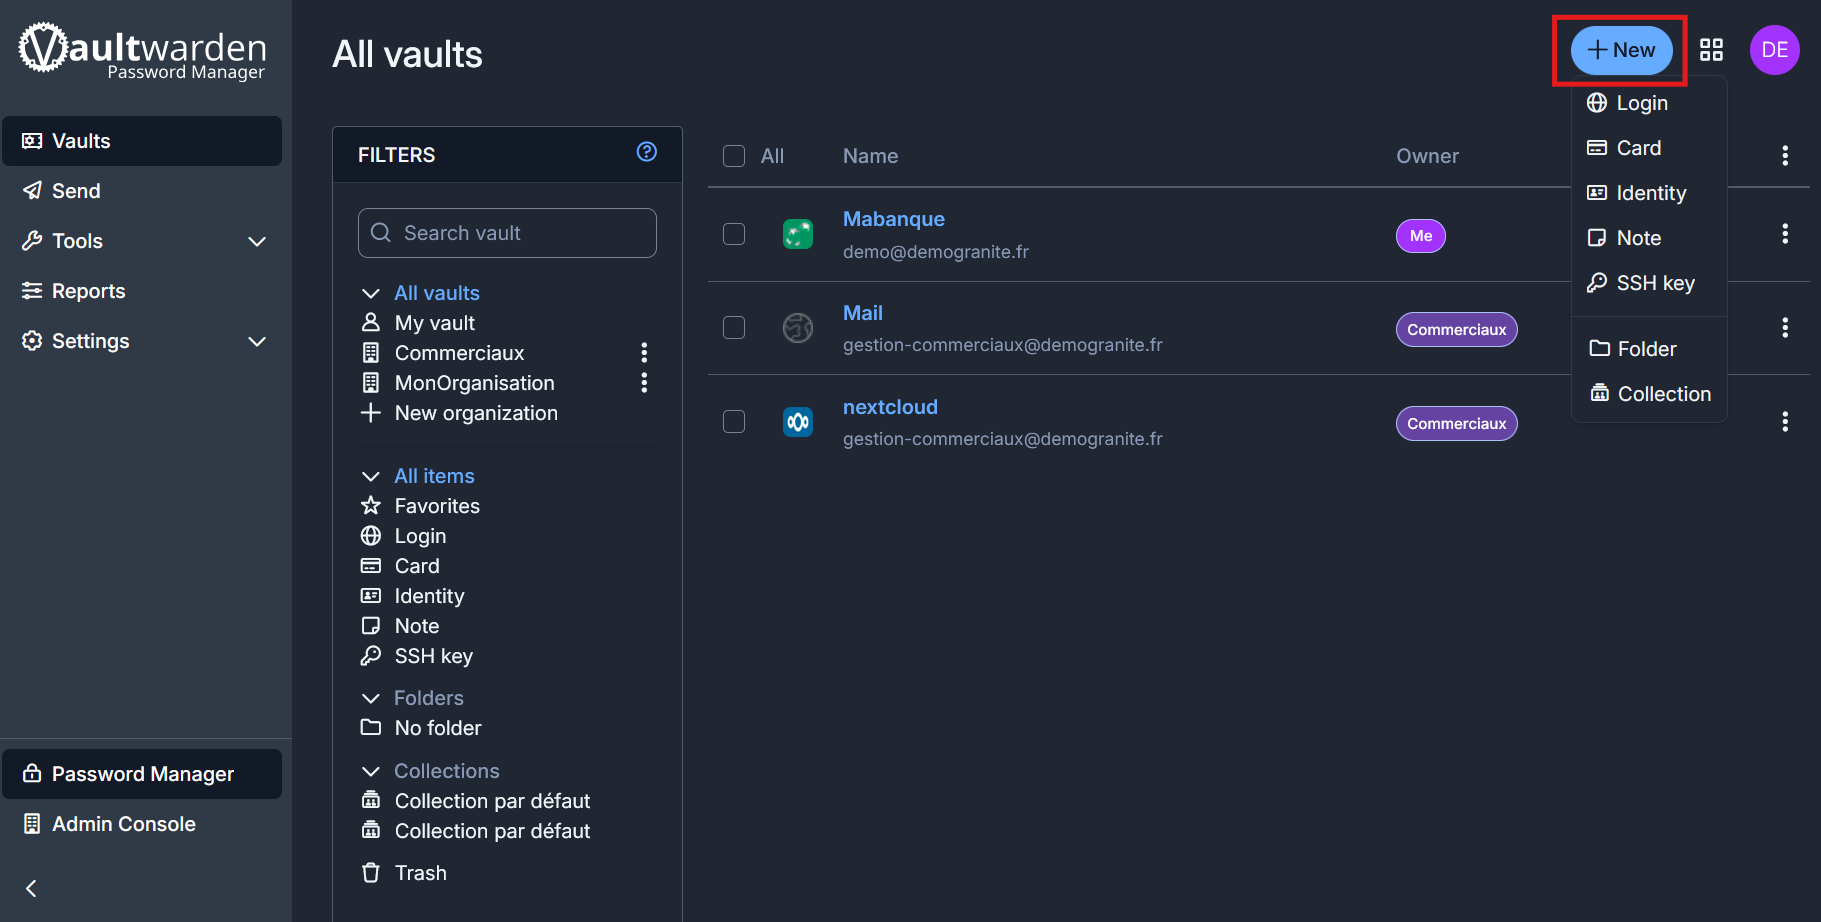
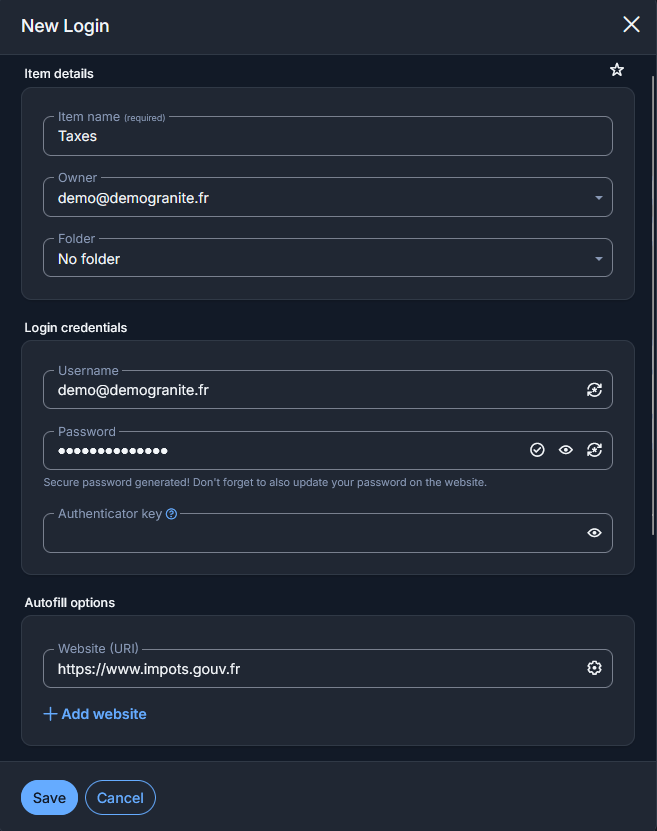
For this example, we’ll start by creating a new Taxes entry. After selecting "Login" from the dropdown menu, a new input window will appear. From here, you can view and edit the information contained in the secure entry. You can name it, add usernames, passwords, and more. You can also add the entry to a folder—either private or shared with others.
Fill in the relevant fields, then click on Save.
Once the login has been created, it can be viewed and edited from the password manager’s home screen.

- Extensions for Browser
Once you’ve created your account, you can also access the password manager via the browser extension. To download the extension for your browser, visit the official Bitwarden website.
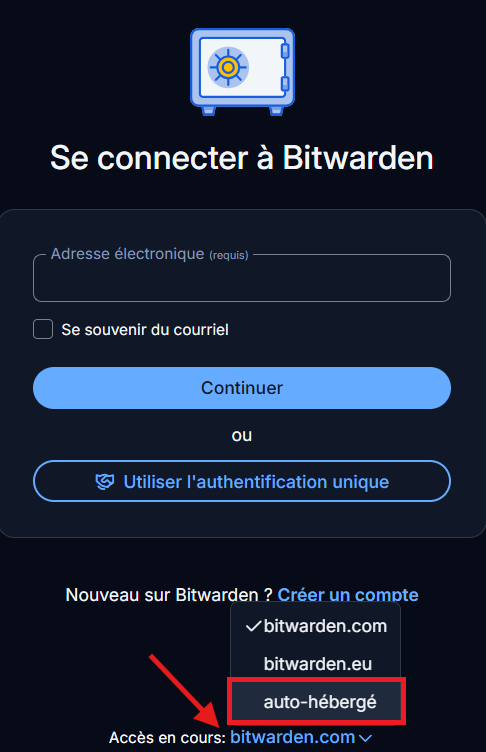
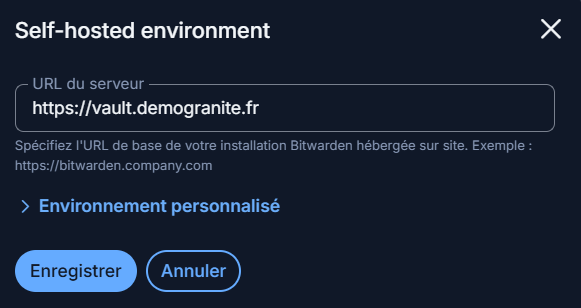
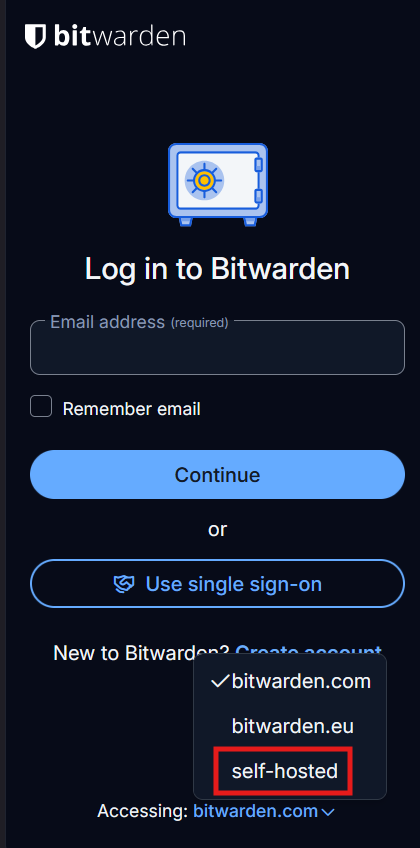
Once downloaded and installed, you can launch the app. The first thing to do is specify the server address. To do so, click at the bottom of the page on "Accessing: bitwarden.com", then select "Self-hosted". Next, enter the address in the format "https://vault.mondomaine.tld" in the "Server URL" field and click "Save".

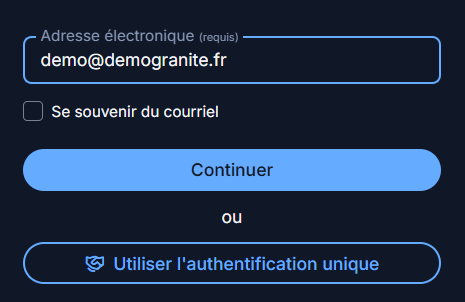
You can now log in by first entering your email address and then the password you created earlier.


The browser extension gives you the flexibility to work directly from the plugin at the top of your screen…
... Or by right-clicking your mouse.
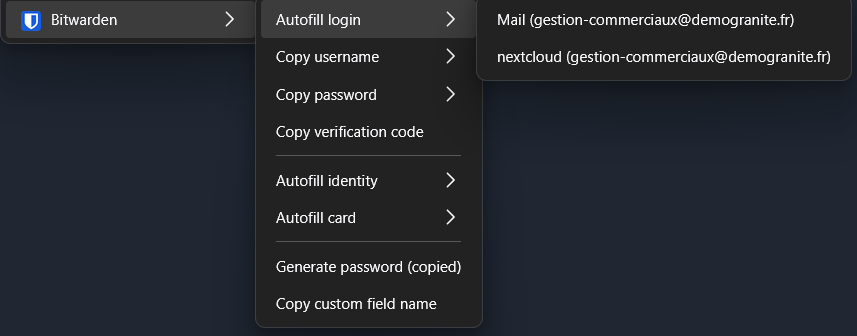
You can also create new notes directly from the extension, generate random passwords, and more.

You’ll then be able to access all your secure login credentials and notes from your browser.

- Smartphone
You can then download Bitwarden from the App Store or Google Play, and launch the app. Download links are also available on the official Bitwarden website.
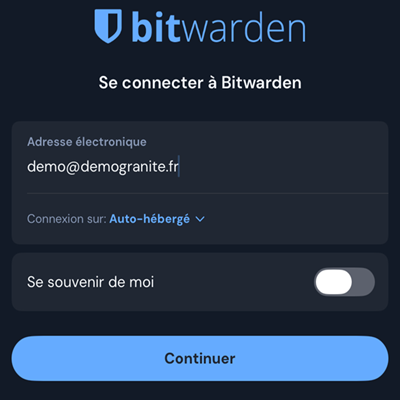
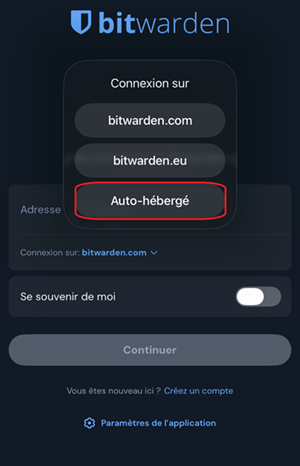
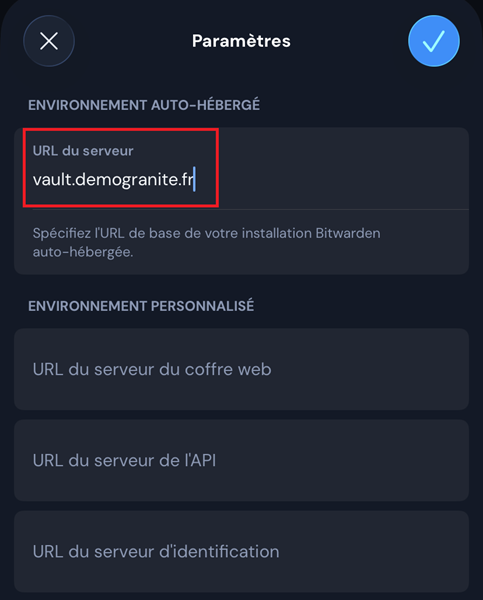
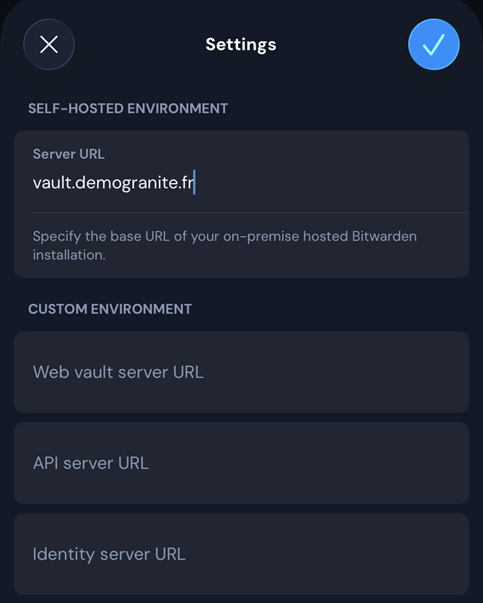
The first thing to do when launching the app is to enter the server URL. To do this, tap "Logging in on: bitwarden.com", then select "Self-hosted". Next, enter the address in the format "https://vault.mondomaine.tld" in the "Server URL" field and tap "Save".


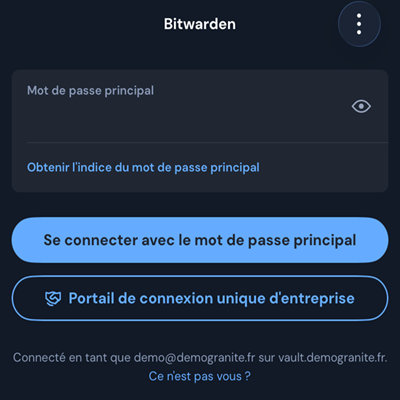
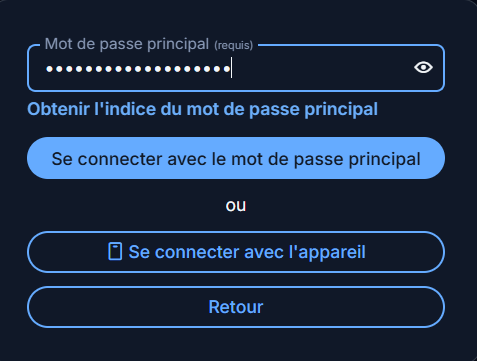
You can then enter your email address and password, and then select "Log in with your master password".


You can now access your Password Manager from anywhere.

- Desktop Application (Computer)
From your computer, an alternative to accessing the vault via the website is the desktop app. Download links are available on the official Bitwarden website.
Once downloaded and installed, you can launch the app. The first thing to do is specify the server address. To do so, click at the bottom of the page on "Accessing: bitwarden.com", then select "Self-hosted". Next, enter the address in the format "https://vault.mondomaine.tld" in the "Server URL" field and click "Save".


In the next step, enter your email address and password, then select "Log in with your master password".


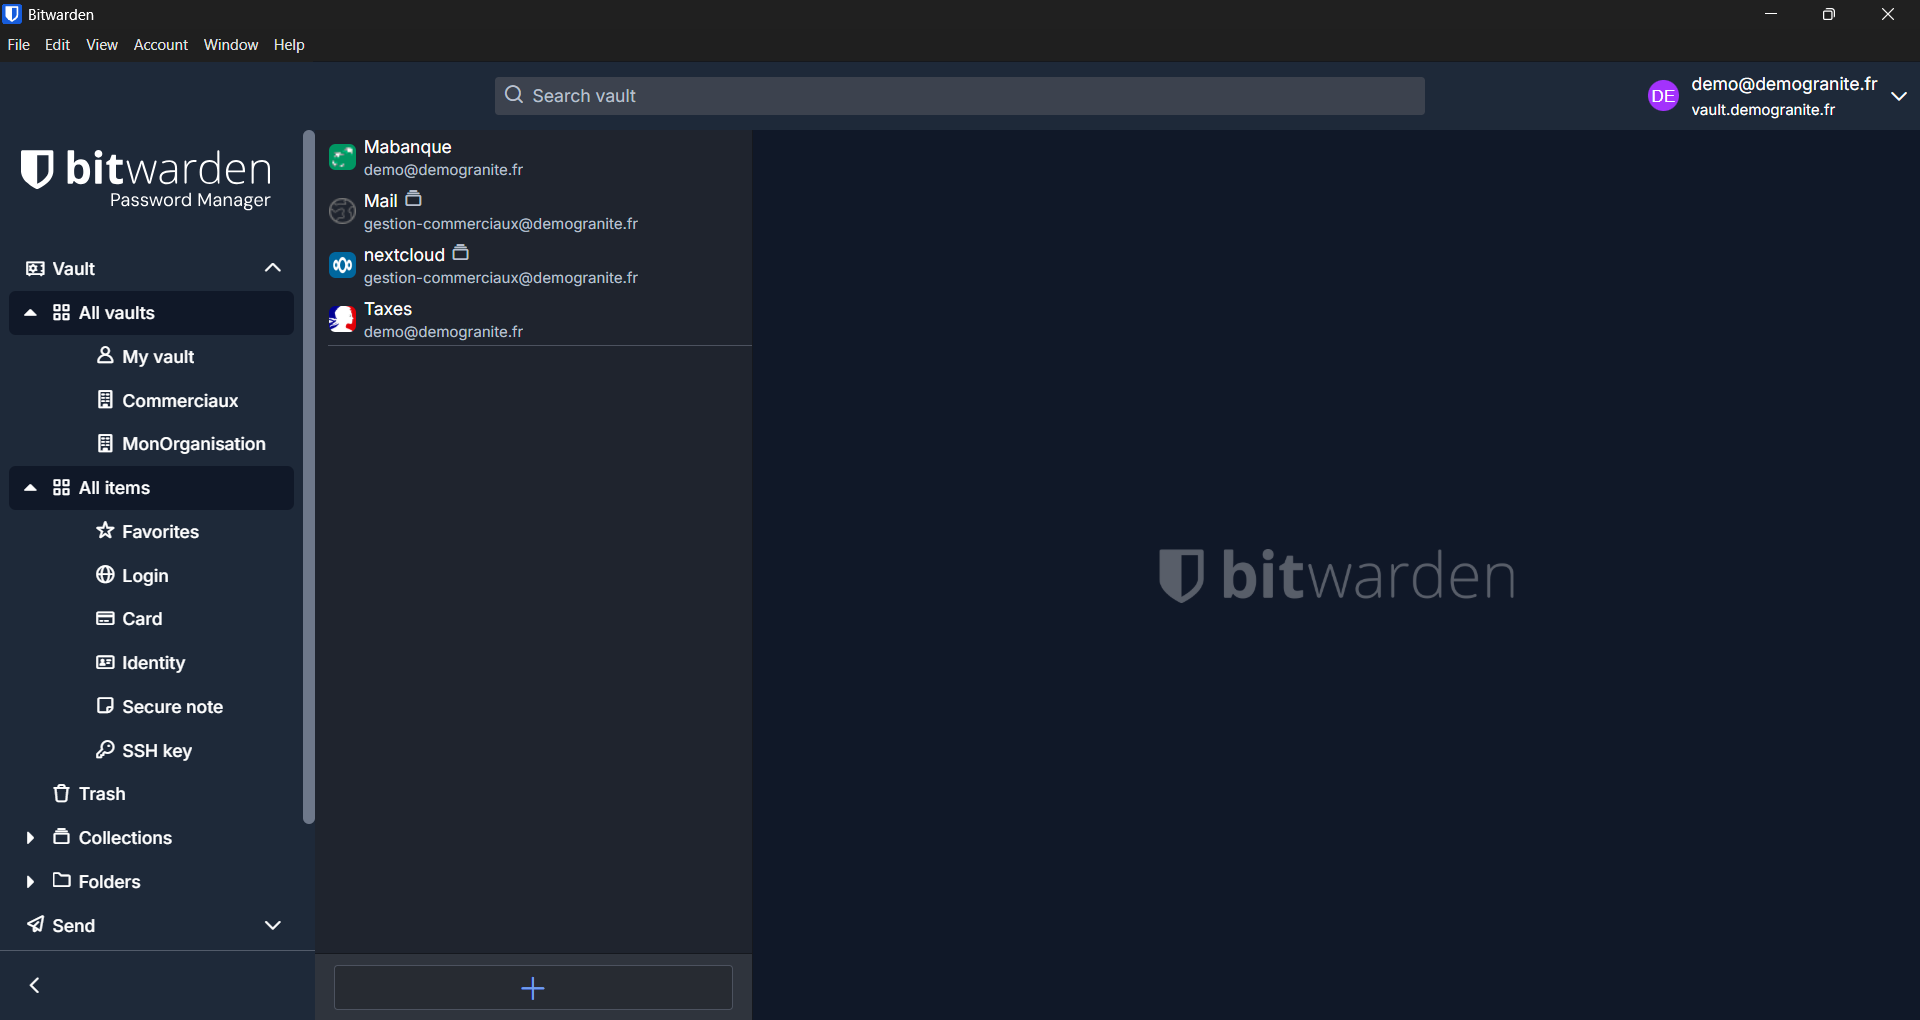
You can view and create your logins and secret notes just as you would on the web app or smartphone app, with everything synced across your various devices.
- Organization Management
Organizations allow the entire team to share secure notes as well as shared login credentials (which can be useful when multiple members access an internal service using the same login information).
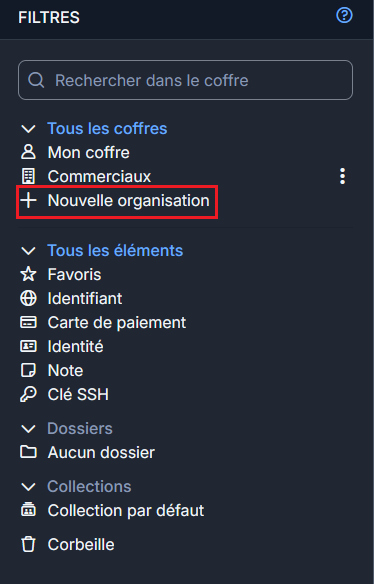
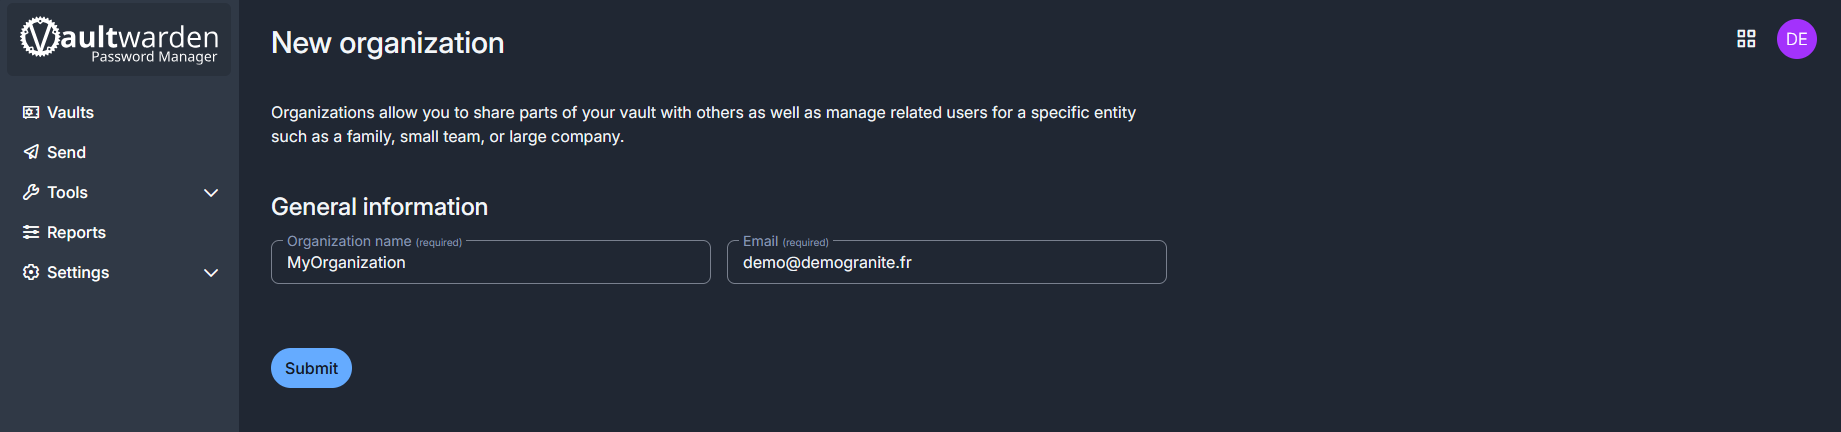
To create an organization, go to the web interface. From the home screen, under the Filters menu, you can create an organization by clicking on "+ New Organization".

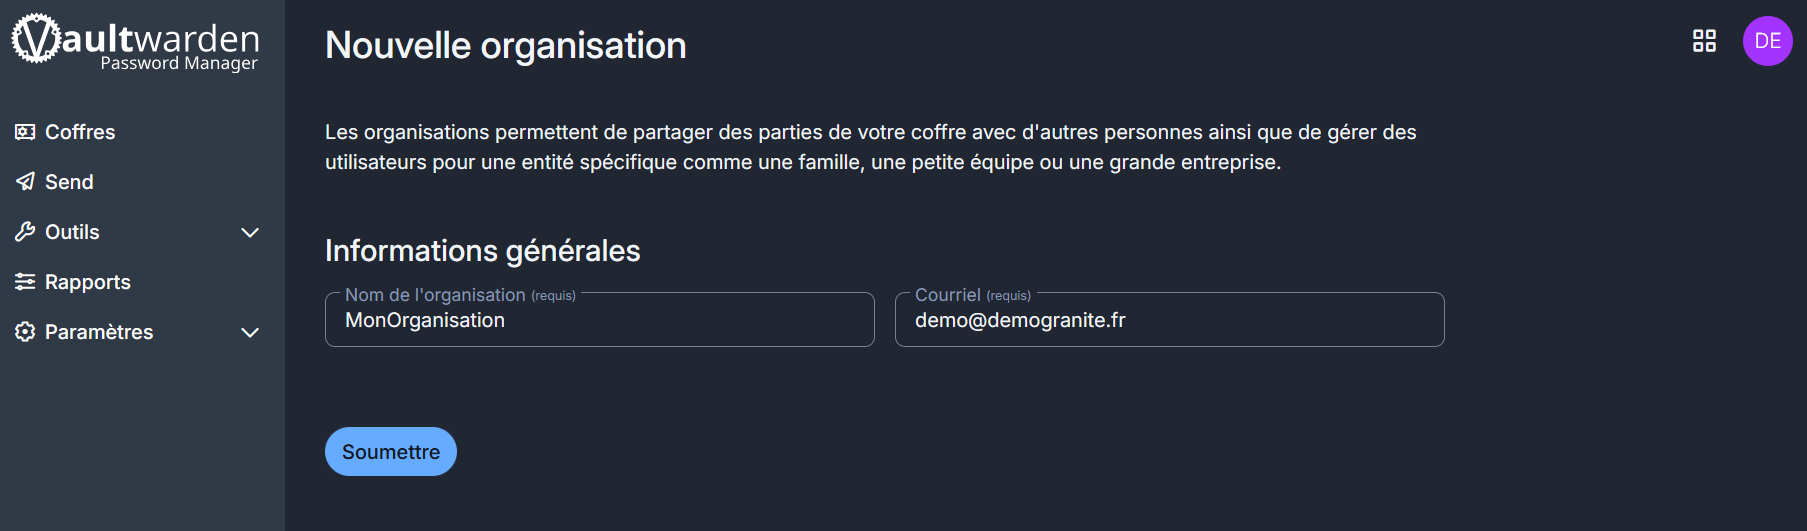
Simply enter a name for the organization and an email address, then click on "Submit" to complete the creation of the organization. By default, the only owner of the organization is the administrator or the user who created it, but you can add additional owners.
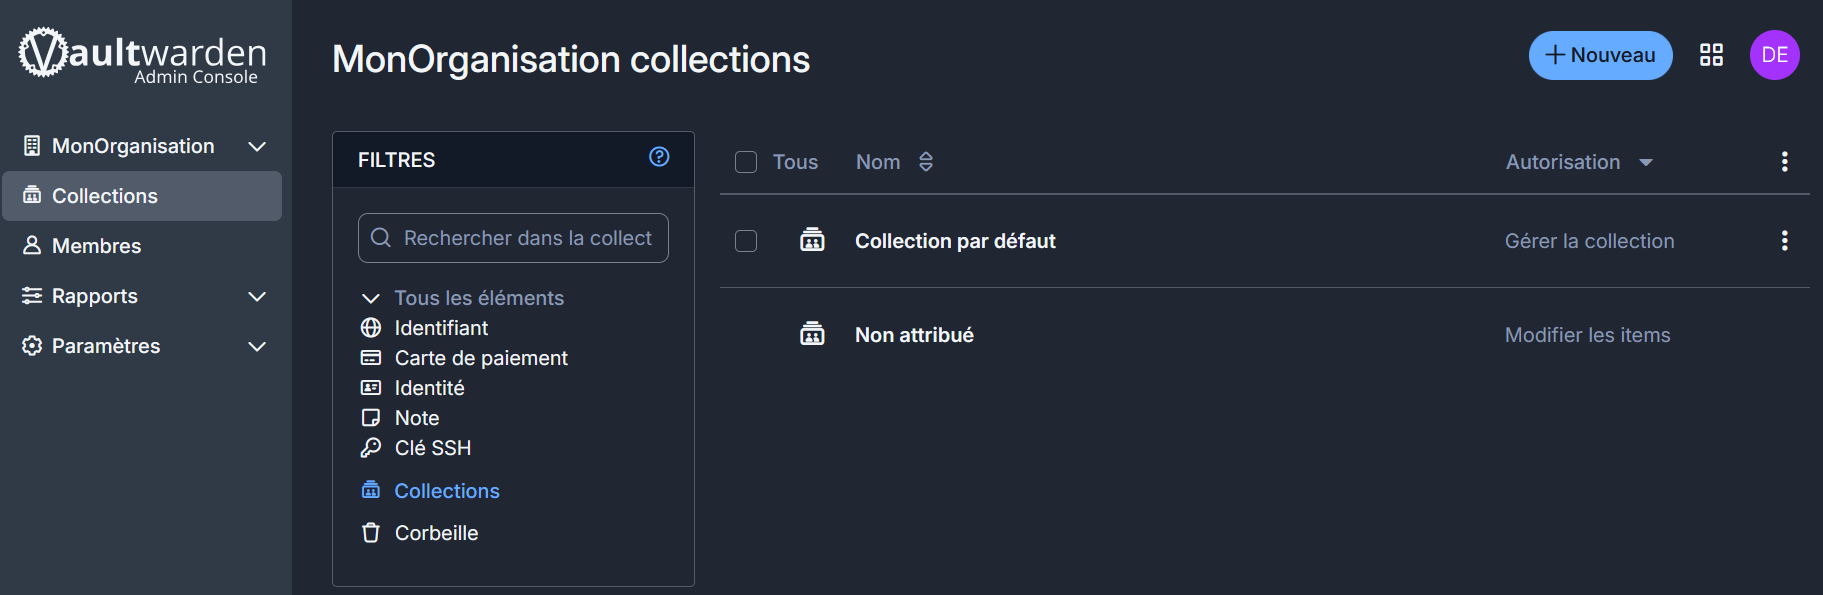
You will then have access to a separate vault, shared with the members of your organization.
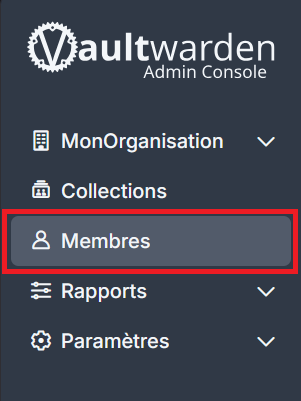
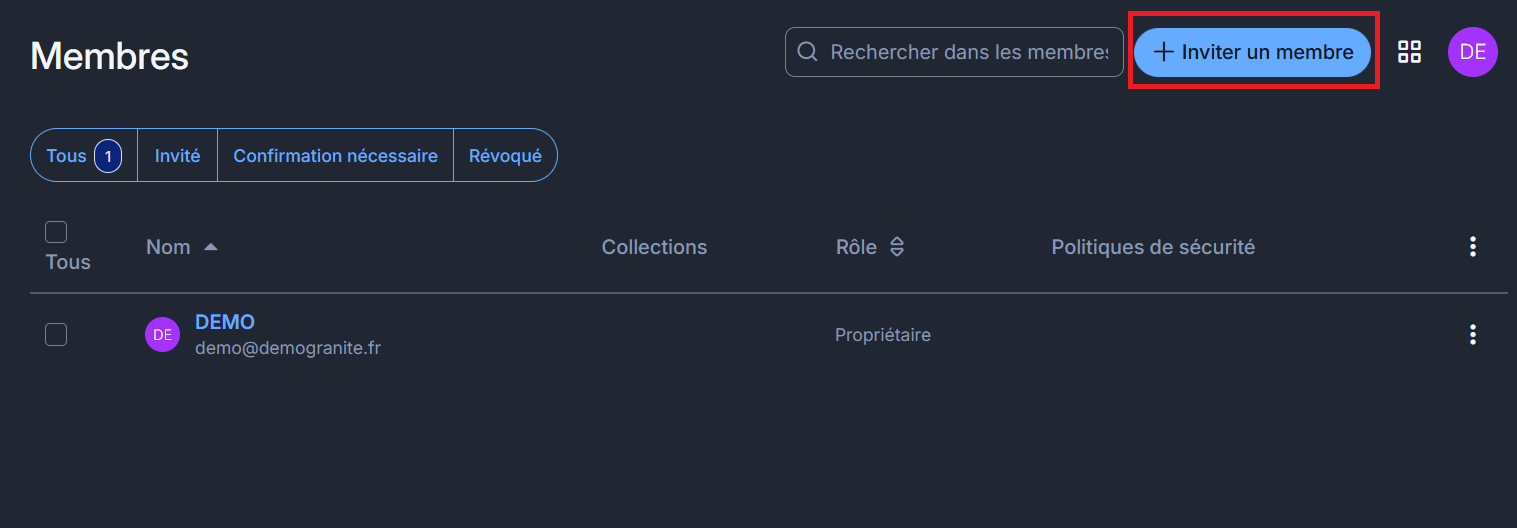
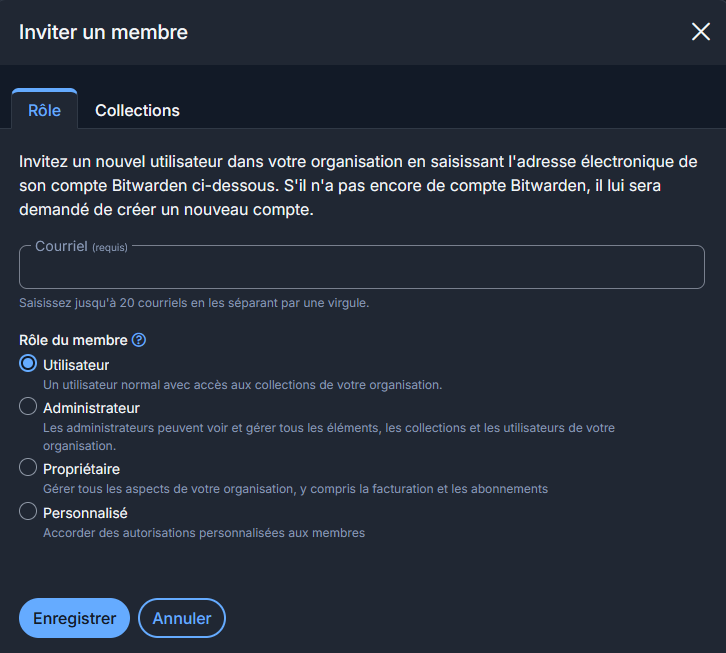
To add members to your organization, click on the "Members" icon in the menu on the left side of the page, then click "+ Invite member".

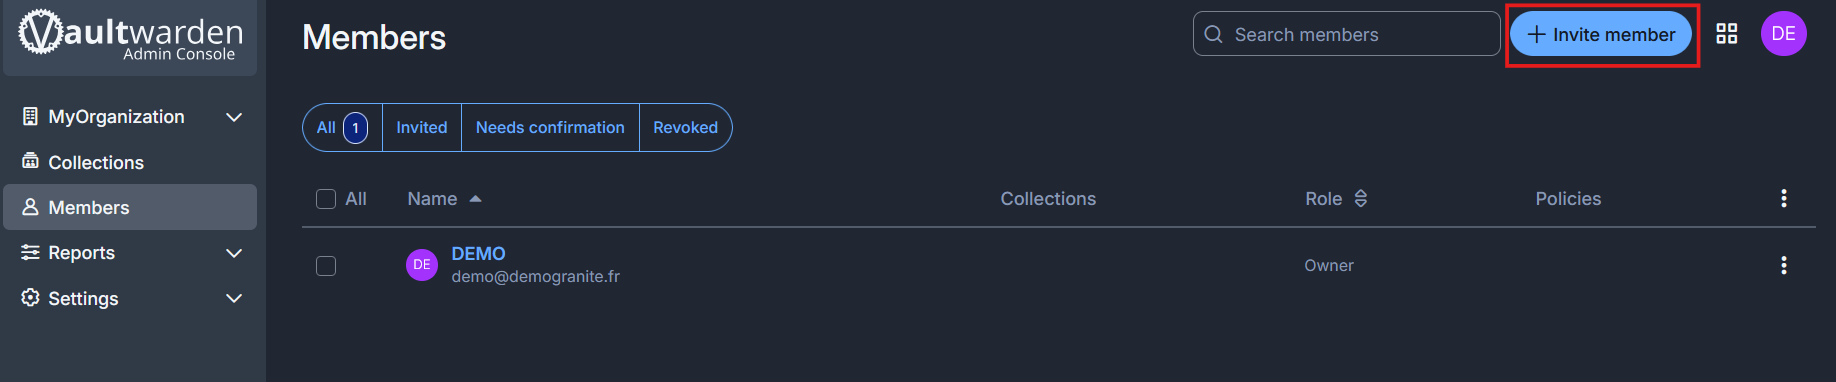
You can then enter the email addresses of the users authorized to join your organization, as well as their roles, which correspond to the permissions that the user(s) will have. It is also possible to further subdivide access to certain accounts within an organization and manage permissions to allow specific users to view, edit, or delete data.

Please note that once the user has accepted the invitation, you will still need to allow them in this same module.


Now that your organization has been created and its members have joined, you can create credentials or secure notes within your organization in the same way as described previously, by clicking on the "+ New" icon in the top right corner.
You can also first create a secure note (or a credential) from the password manager’s home screen and then share it with the organization of your choice.
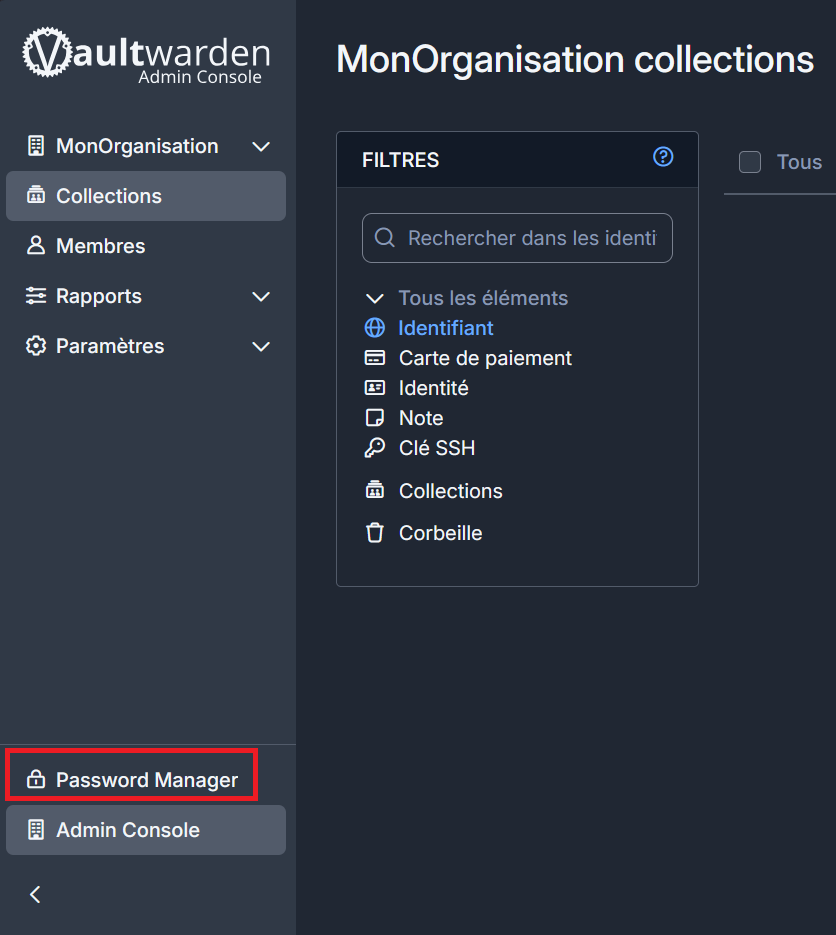
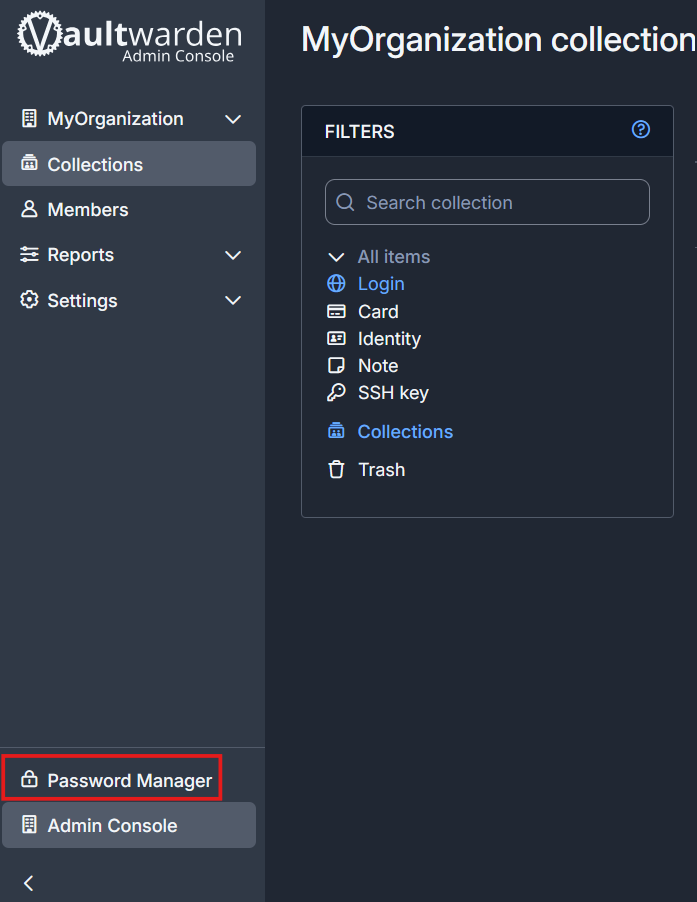
To do so, click on "Password Manager" in the bottom-left corner to return to the password manager’s home screen.
Create a new secure note: "+ New " > "Note" . Then fill in the relevant fields and click on "Save" .

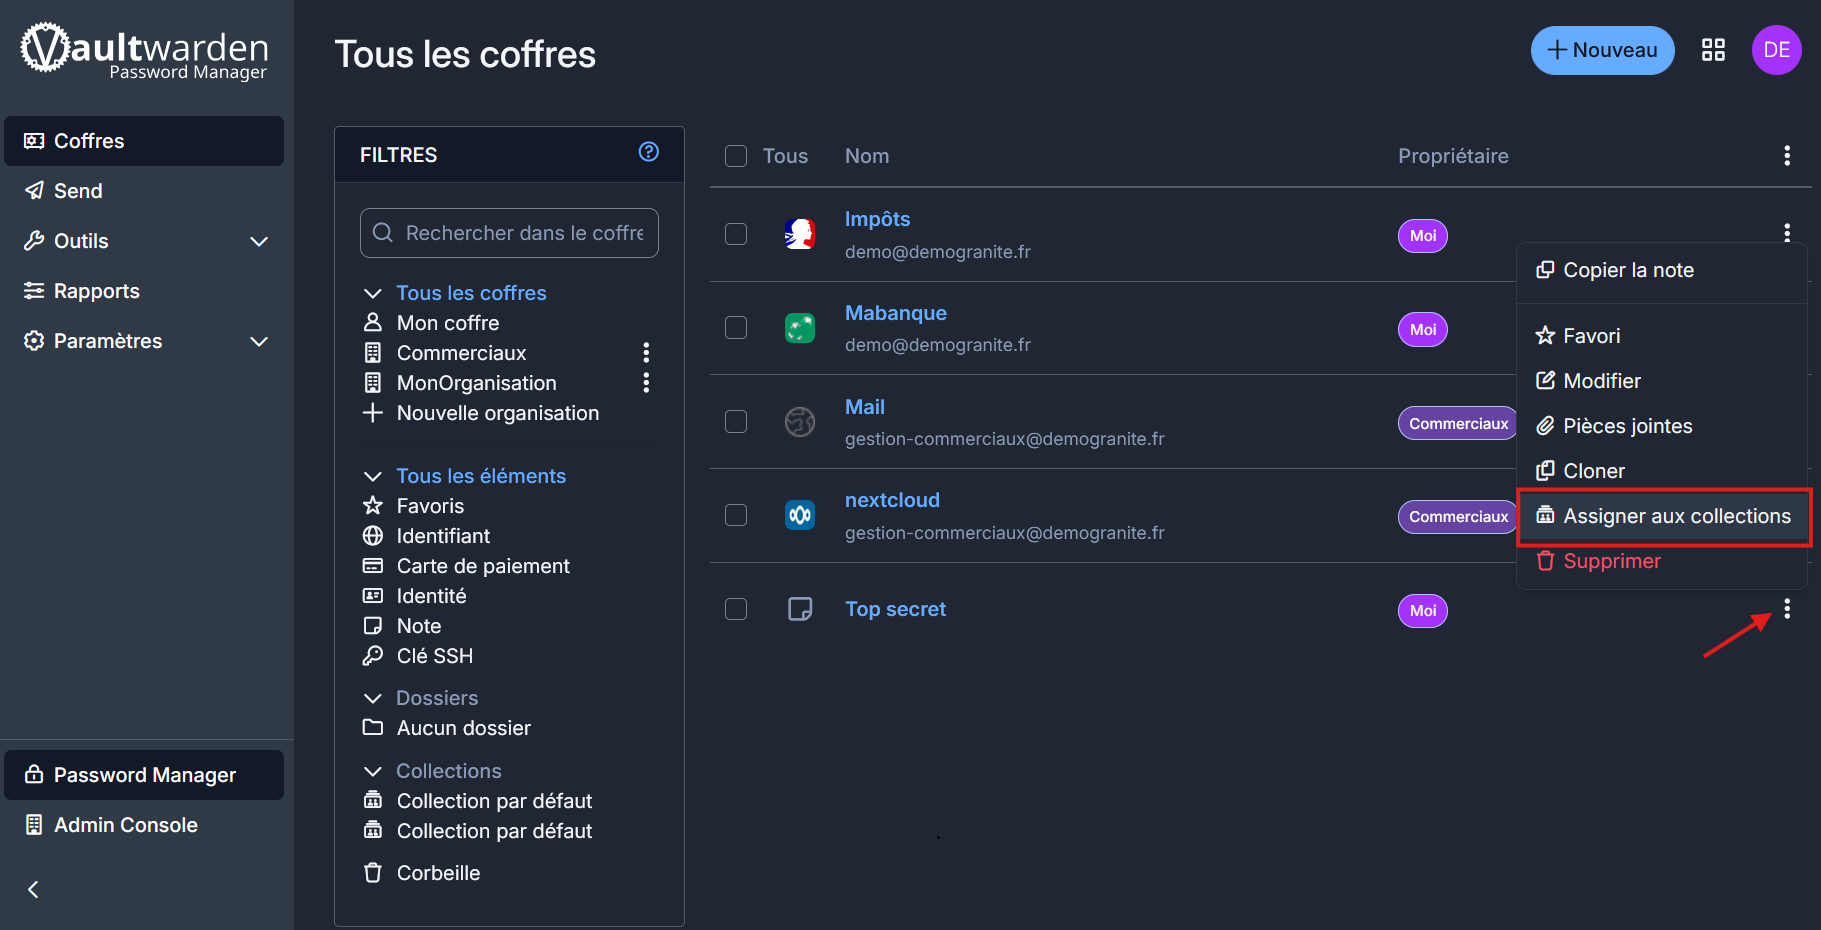
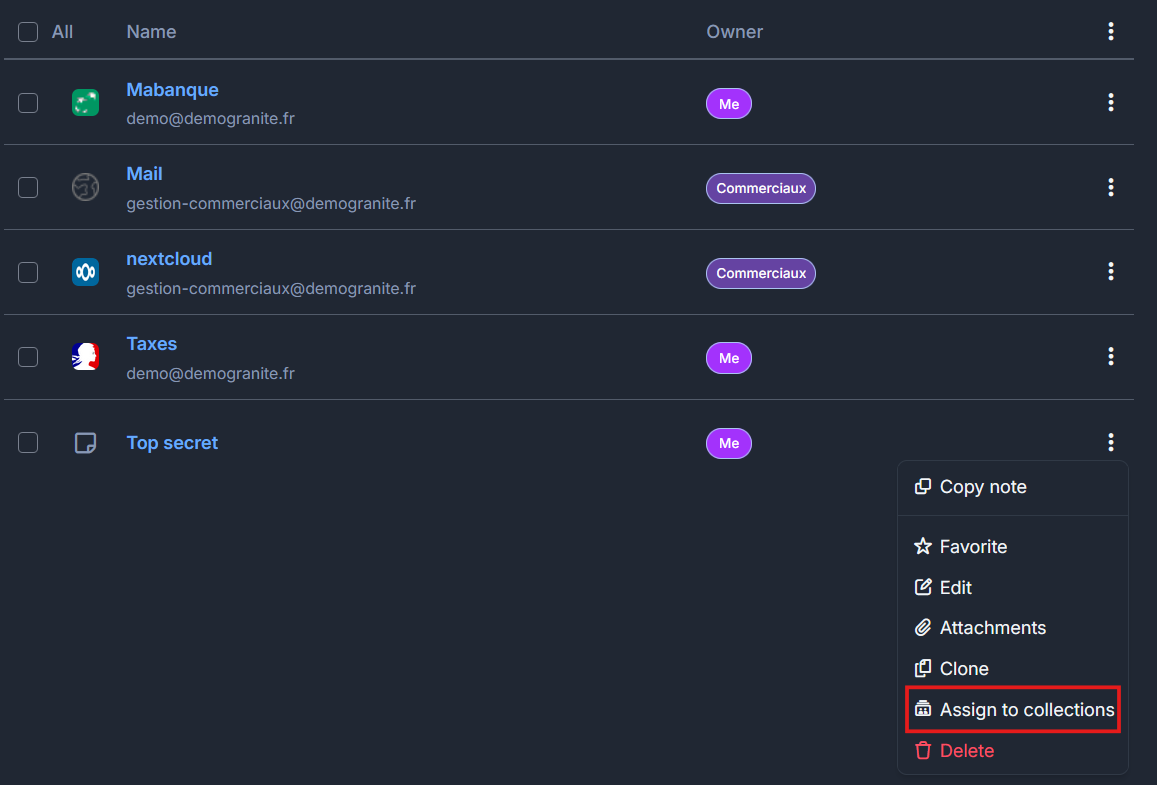
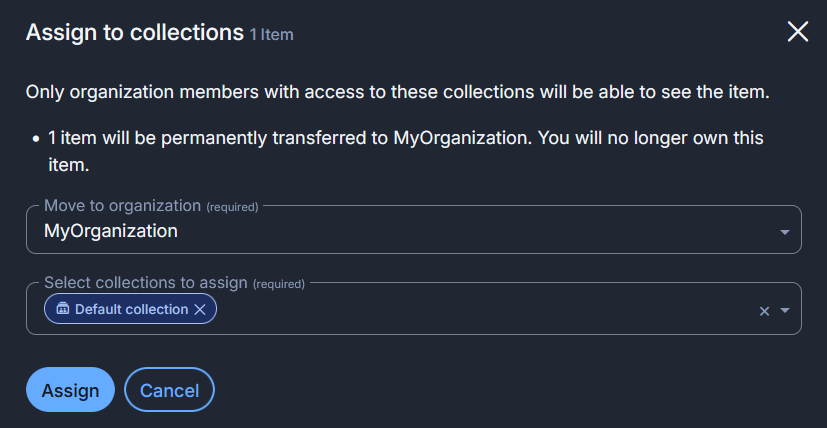
To share the newly created secure note, click on the three dots to the right of the relevant row, then click on "Assign to Collections ".
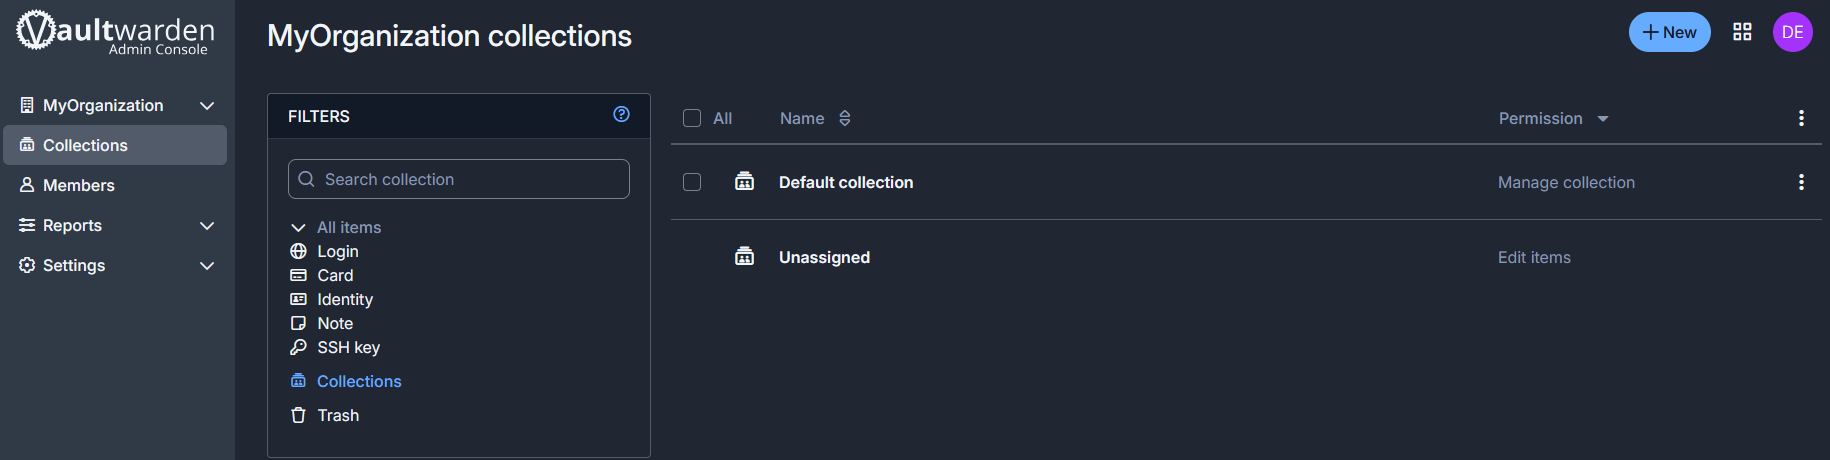
A new window will appear; select the desired organization and collection (here, the Default Collection is selected, which is automatically created when the organization is created). Then click on "Assign".
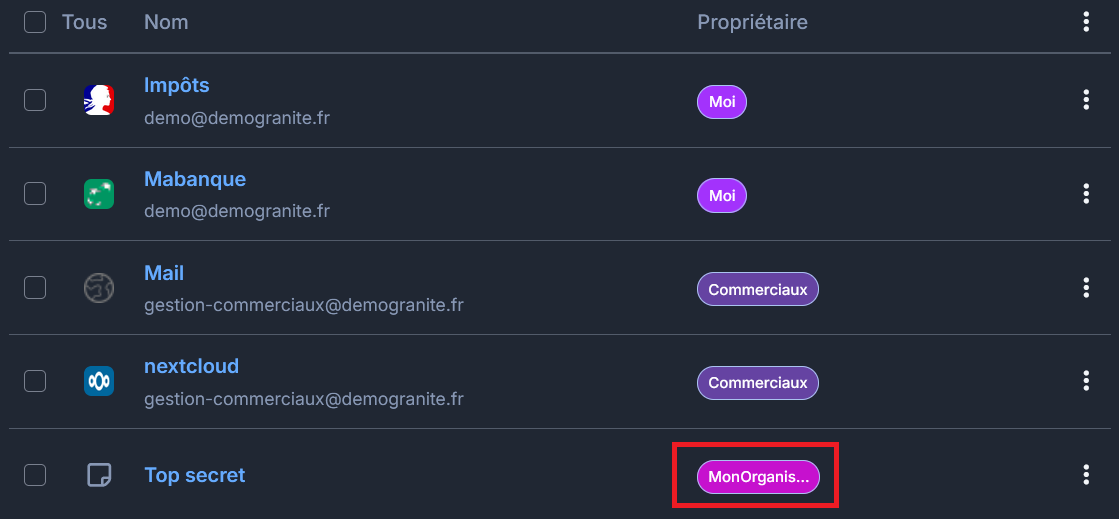
Back on the home screen, you can see in the "Owner" column that the note has indeed been assigned to "MyOrganization".
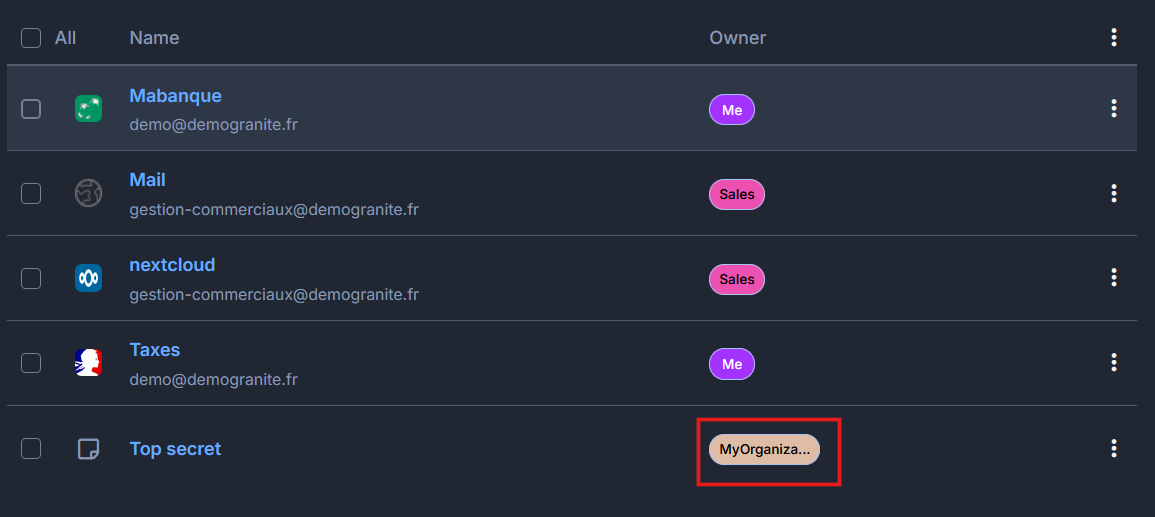
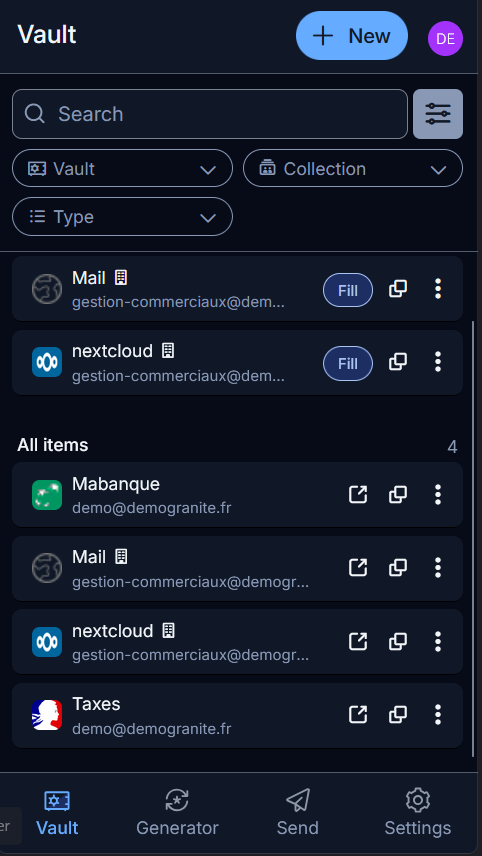
Additionally, you can see from the same column that the two identifiers Taxes and My Bank are visible only to the user "Me", while the identifiers Mail and Nextcloud are shared within another organization, "Sales". The interface thus provides an overview of entries based on their owner.